Key Takeaways
- A reputable asphalt paving contractor should have a strong local reputation, clear communication, written estimates, and proof of insurance.
- Online reviews are helpful when you look beyond the star rating and evaluate repeated patterns in workmanship, professionalism, and problem resolution. This is an inference based on the review guidance in the current article.
- Detailed estimates matter because two paving proposals with similar prices may include very different levels of preparation, drainage work, and repair scope. This expands on the article’s emphasis on comprehensive quotes.
- Large upfront deposits, rushed decisions, and vague explanations are common warning signs when hiring a paving contractor.
- The best contractor for the job is not always the cheapest one. Experience, preparation, and honesty about the condition of the pavement often matter more than the lowest number.
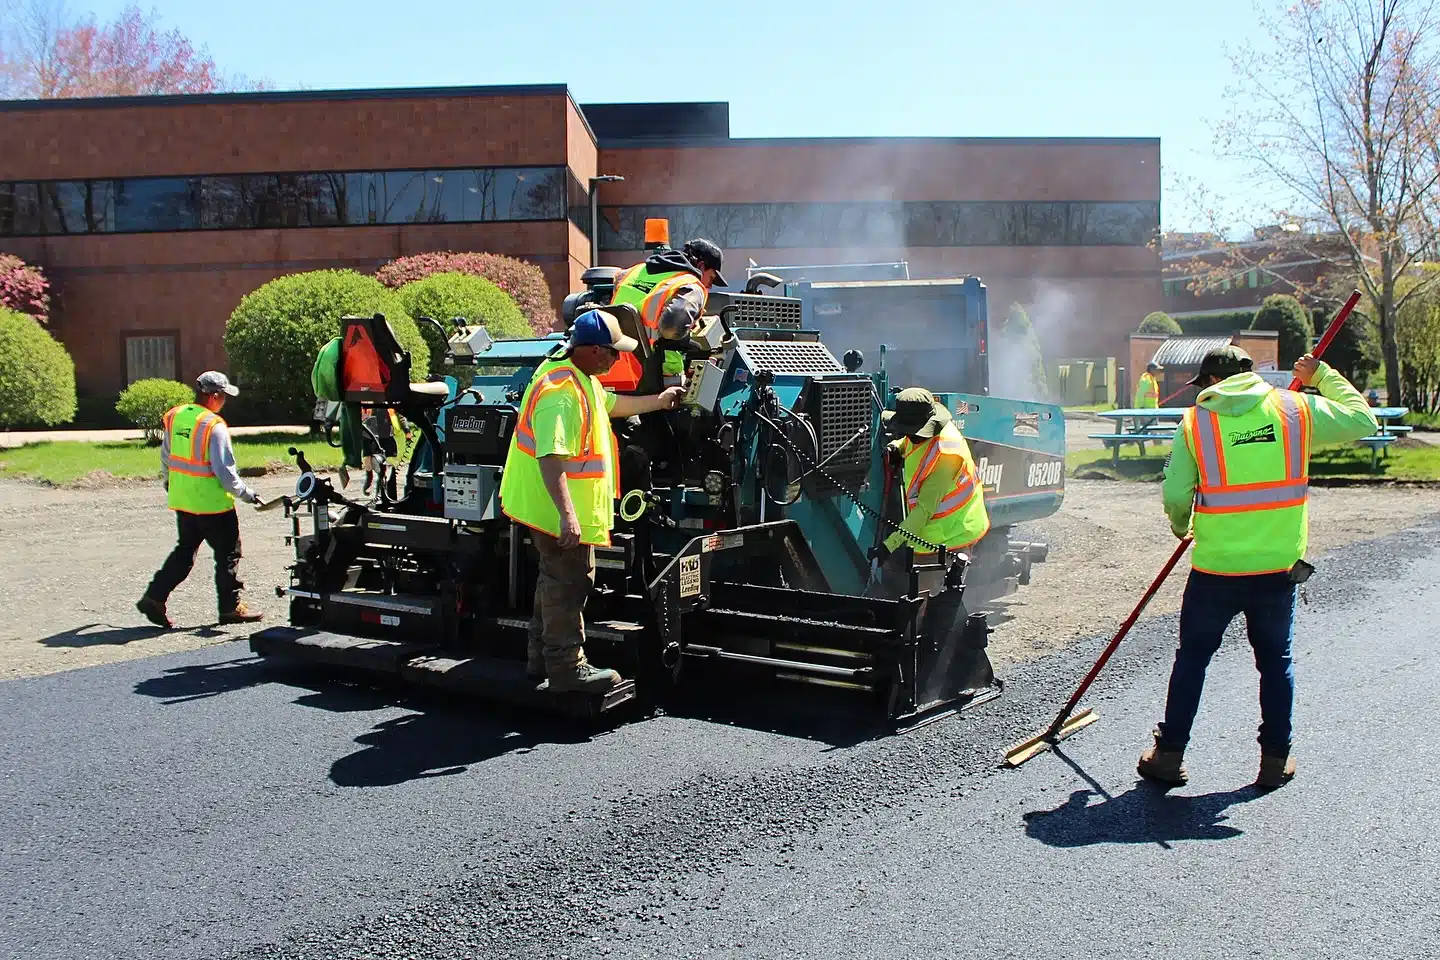
Hiring the right Connecticut asphalt paving contractor can make the difference between a driveway or parking lot that performs for years and one that starts failing far too soon. A good contractor does more than provide a low number on paper. They help you understand the scope of the work, prepare the site correctly, install the pavement properly, and stand behind the finished product.
Unfortunately, not every paving contractor operates the same way. Some companies offer quality workmanship, clear communication, and honest recommendations. Others rely on vague estimates, rushed installations, poor materials, or high-pressure sales tactics. That is why it is so important to know what to look for before signing anything.
If you are planning a new driveway, resurfacing an older surface, repairing problem areas, or exploring full paving services, this guide will help you evaluate contractors with more confidence and avoid common mistakes.
Start With Local Reputation
One of the best ways to begin your search is by looking for contractors with a proven local presence. A company that has been serving the same region for years usually has more at stake than a fly-by-night operator passing through town.
Ask neighbors, family members, local business owners, or property managers who they have used and whether they would hire that contractor again.
Check Reviews, But Read Them Carefully
Online reviews can be helpful, but they need to be read with context.
- Do customers mention professionalism and communication?
- Do they describe long-lasting work?
- Are there repeated complaints about cracking or drainage?
- Does the contractor respond professionally to feedback?
Verify Licensing and Insurance
A reputable contractor should be able to provide proof of licensing (if required), general liability insurance, and workers’ compensation coverage.
If a company cannot provide documentation, that is a major red flag.
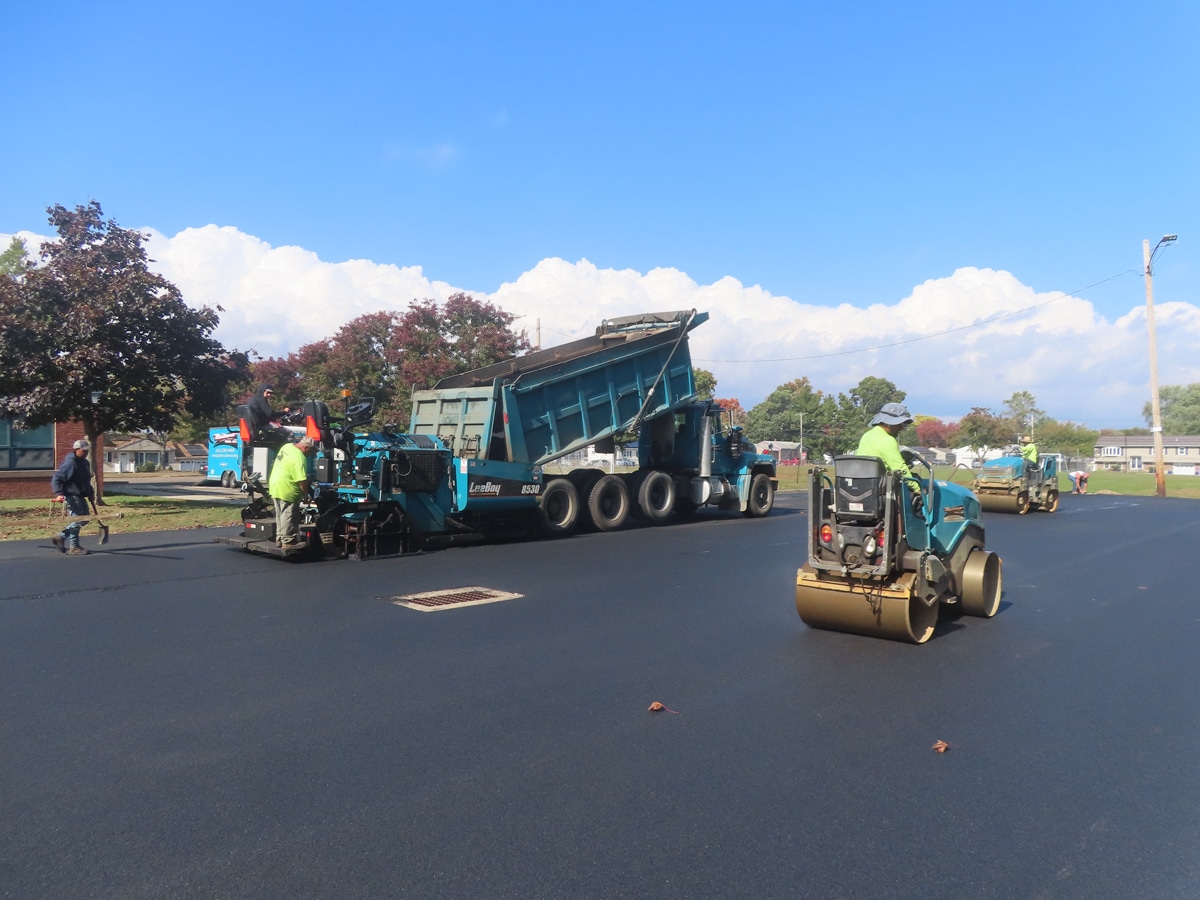
Look for Experience With Your Type of Project
Not all contractors specialize in the same type of work. Some focus on residential driveways, while others handle commercial lots or municipal projects.
Make sure the contractor has experience with projects similar to yours.
Ask About the Full Scope of Work
A reputable contractor should clearly explain the job from start to finish.
- Will the old pavement be removed or resurfaced?
- Is the base stable or does it need repair?
- How will drainage be handled?
- What thickness of asphalt is being installed?
If they can’t explain it clearly, that’s a warning sign.
[elementor-template id=”4630″]Get Detailed Written Estimates
Always get everything in writing. This helps you compare contractors fairly.
It’s also smart to get multiple estimates so you can evaluate pricing, scope, and professionalism side by side.
A strong estimate should include:
- Scope of work
- Preparation details
- Materials and application
- Cleanup and finishing
- Payment terms
The lowest price is not always the best value. Missing steps like base prep or drainage can lead to expensive problems later.
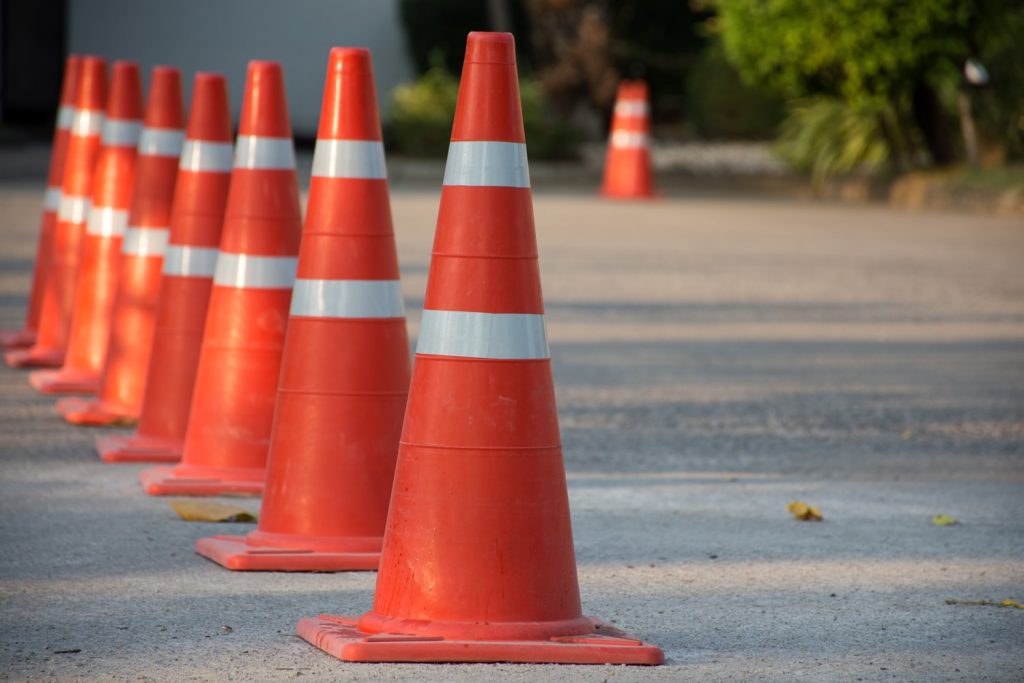
Be Wary of High-Pressure Sales Tactics
Be cautious of contractors who push you to sign immediately or claim they have “extra asphalt” available at a discount.
Reputable contractors give you time to make an informed decision.
Watch the Payment Terms
Payment structure matters. Avoid large upfront payments before work begins.
A professional contractor typically uses a clear schedule tied to project progress.
Evaluate Communication and Professionalism
Pay attention to how the contractor communicates from the beginning.
- Do they show up on time?
- Do they answer questions clearly?
- Do they follow through?
Good communication early usually leads to a smoother project.
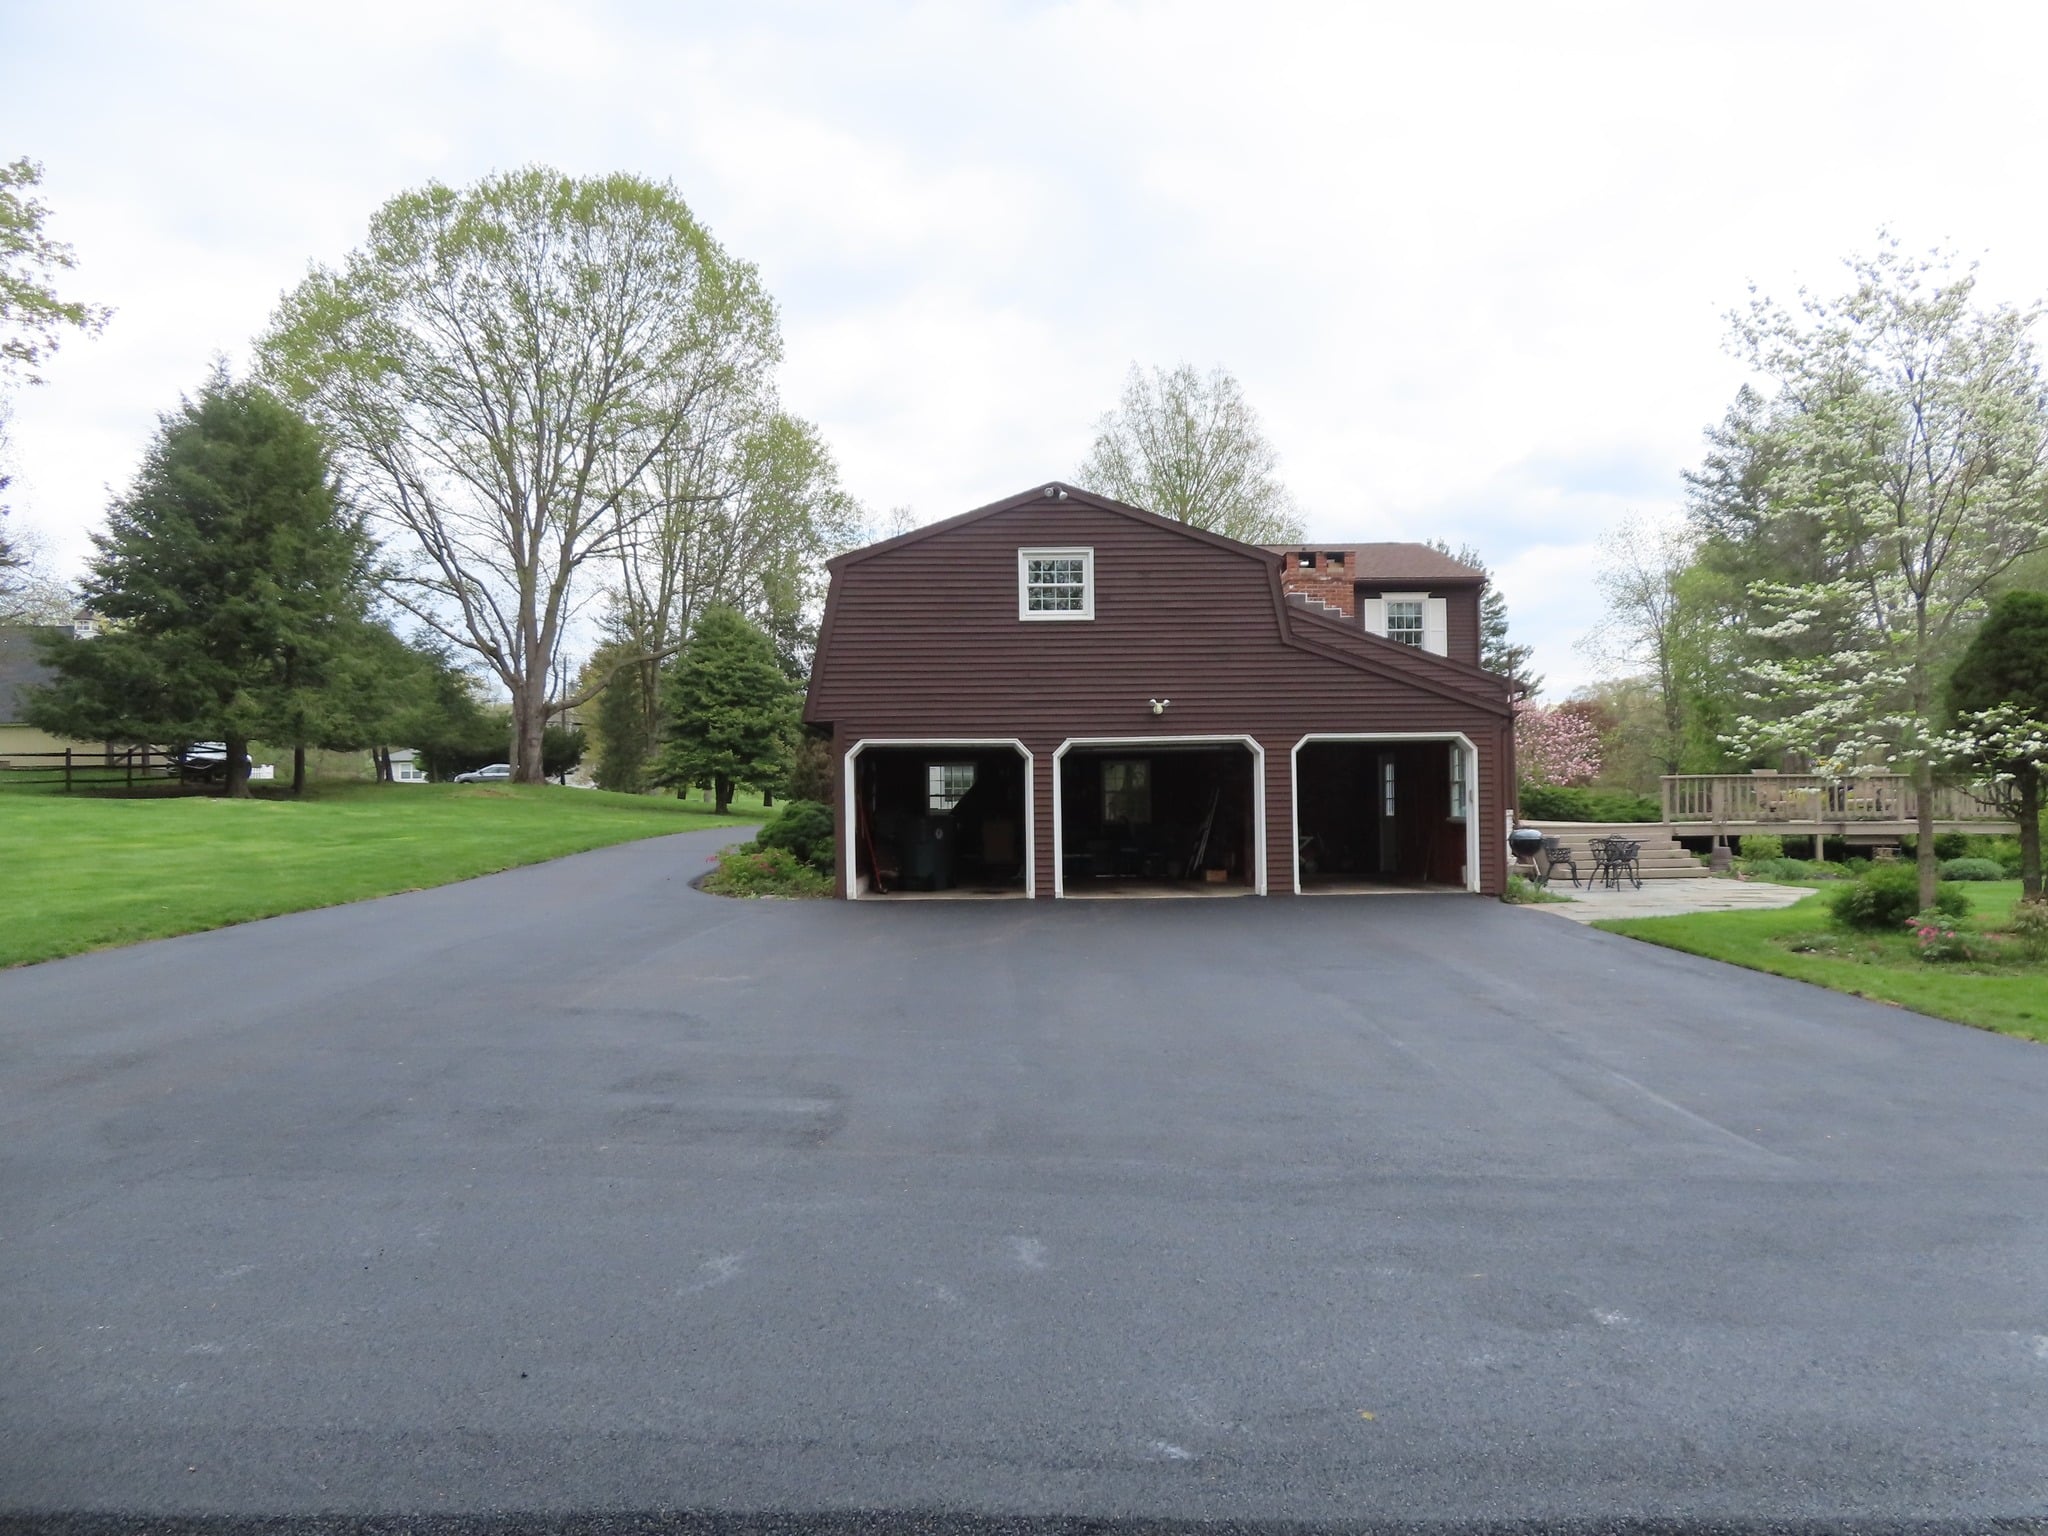
Ask to See Previous Work
A reputable contractor should provide examples of past projects or references.
Seeing completed work helps you evaluate quality, finish, and durability.
Understand Surface vs Structural Repairs
Not all problems are surface-level. Some require deeper repairs or full replacement.
A trustworthy contractor will explain whether your project needs maintenance, resurfacing, or reconstruction.
Red Flags to Watch For
- No written estimate
- No proof of insurance
- Unusually low pricing
- Pressure to sign immediately
- No references or past work
Questions to Ask Before You Hire
- How long have you been in business?
- Are you licensed and insured?
- What preparation work is included?
- How will drainage be handled?
- What happens if base issues are found?
- What does your estimate include?
Final Thoughts
Finding a reputable asphalt paving contractor is about more than price. It’s about choosing a company that communicates clearly, prepares properly, and stands behind their work.
Taking the time to evaluate contractors carefully helps you avoid costly mistakes and ensures long-term performance.
Looking for a contractor you can trust? Maisano Brothers has served Connecticut homeowners since 1967 with fully licensed, insured paving services. Request your free estimate and see why our reputation speaks for itself.
Frequently Asked Questions
Look for a strong local reputation, verifiable insurance, clear written estimates, experience with projects like yours, and professional communication from the first interaction onward.
Yes. The current article specifically recommends confirming licensing where required and verifying liability and workers’ compensation coverage.
Comparing multiple written estimates helps you understand the scope of work, identify missing items, and avoid choosing a low number that leaves out critical preparation or repairs. This expands on the article’s guidance to obtain detailed written estimates from several contractors.
Not necessarily. A much lower estimate can signal thinner asphalt, poor base work, limited drainage planning, or other shortcuts that may lead to early failure.
Major red flags include vague quotes, no written proposal, no proof of insurance, pressure to sign immediately, and large upfront payment demands.
That kind of pitch should be treated cautiously. While not every last-minute offer is illegitimate, rushed “extra material” deals are often associated with pressure tactics and lower-quality work. This is a practical warning based on the broader red-flag guidance in the article.
A good estimate should clearly describe the project scope, materials, labor, and any additional charges so you can compare contractors fairly.