Key Takeaways
- Resurfacing adds a new asphalt layer but does not fix structural issues
- Full replacement rebuilds the driveway from the base up
- Surface cracks and minor wear can often be resurfaced
- Potholes, sinking, and alligator cracking require replacement
- The condition of the base layer determines the correct solution
If your asphalt driveway is starting to crack, fade, or break apart, you’re probably asking the big question: should you resurface it or replace it completely?
The answer depends on what’s happening beneath the surface. Some driveways only need a new surface layer, while others require full reconstruction due to structural failure.
Understanding whether to resurface your asphalt or move forward with a full rebuild can save you thousands—and help you make the right long-term investment for your property.
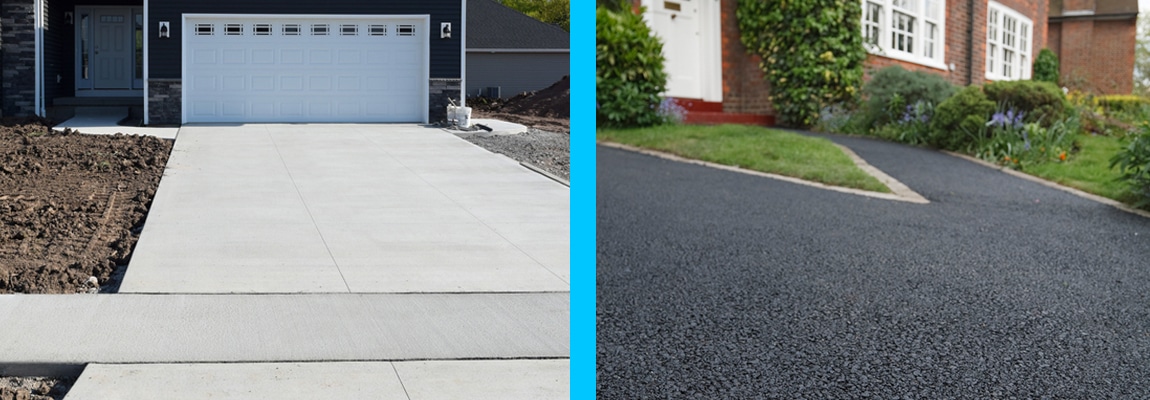
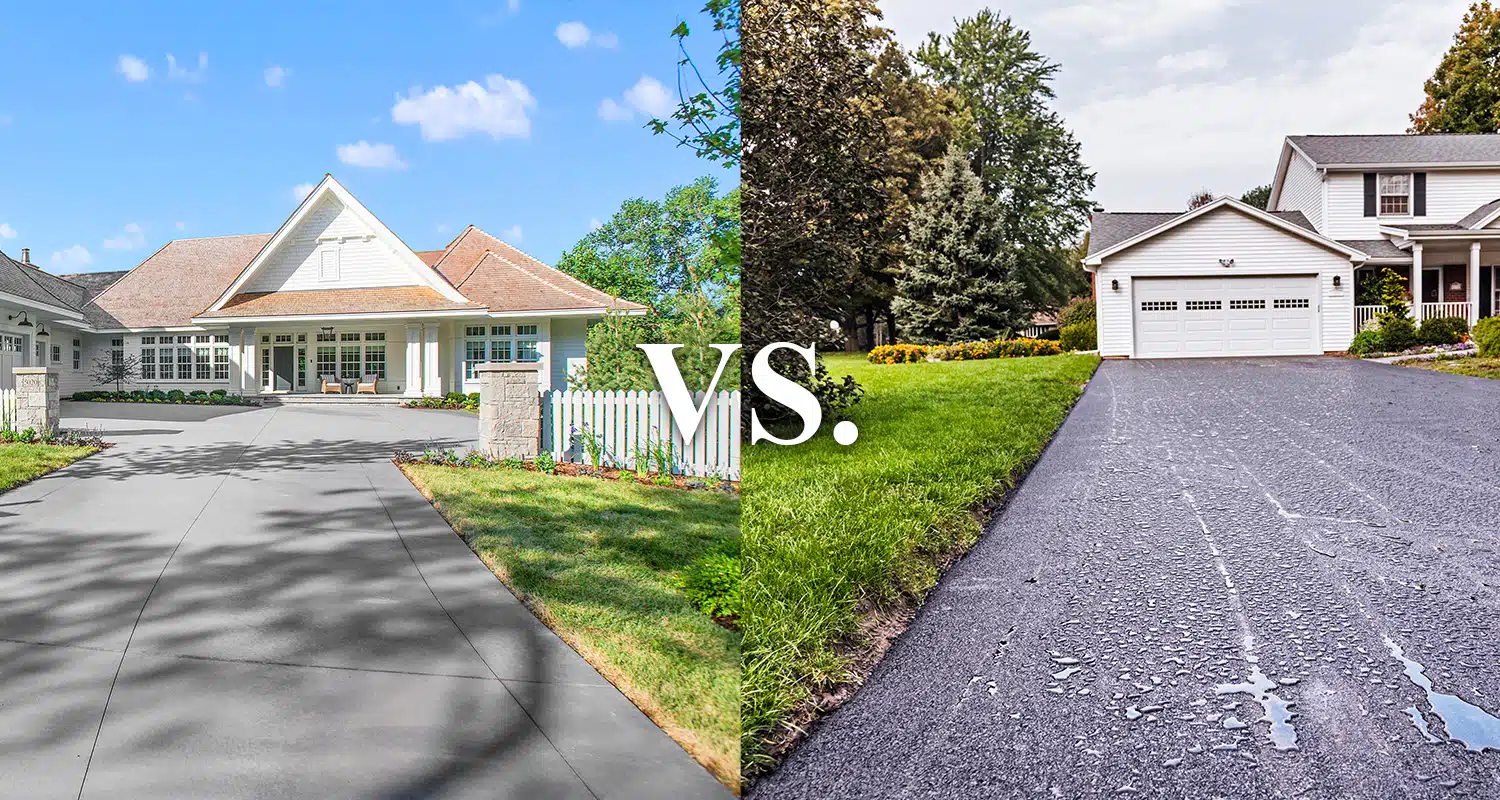
Resurfacing vs Replacement: What’s the Difference?
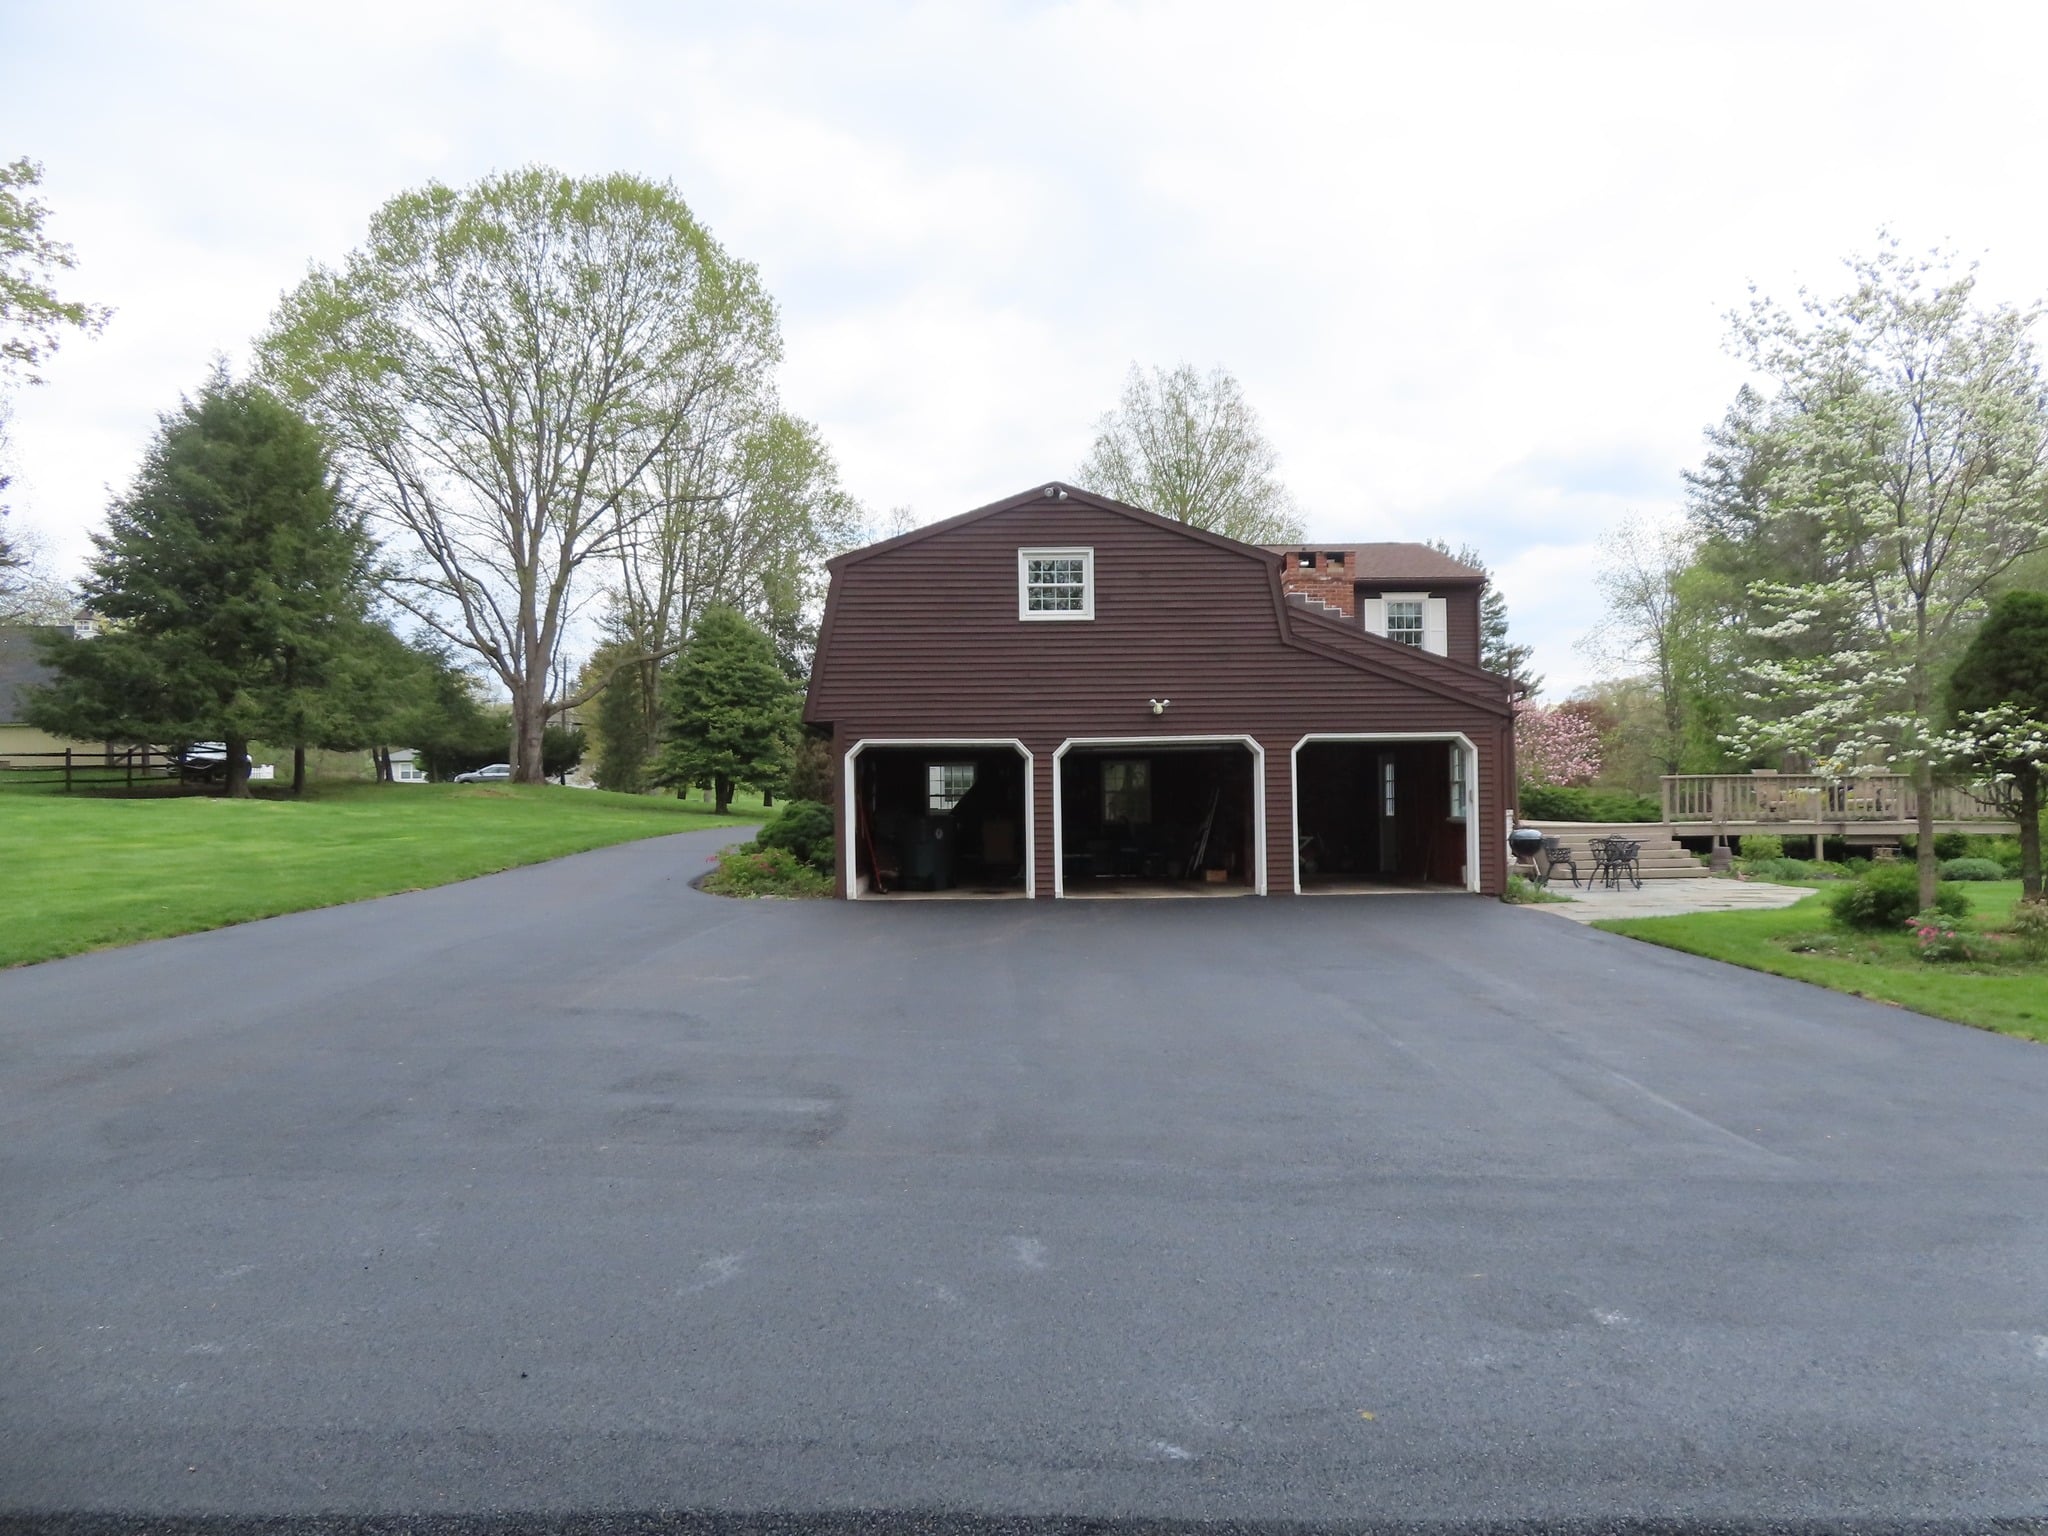
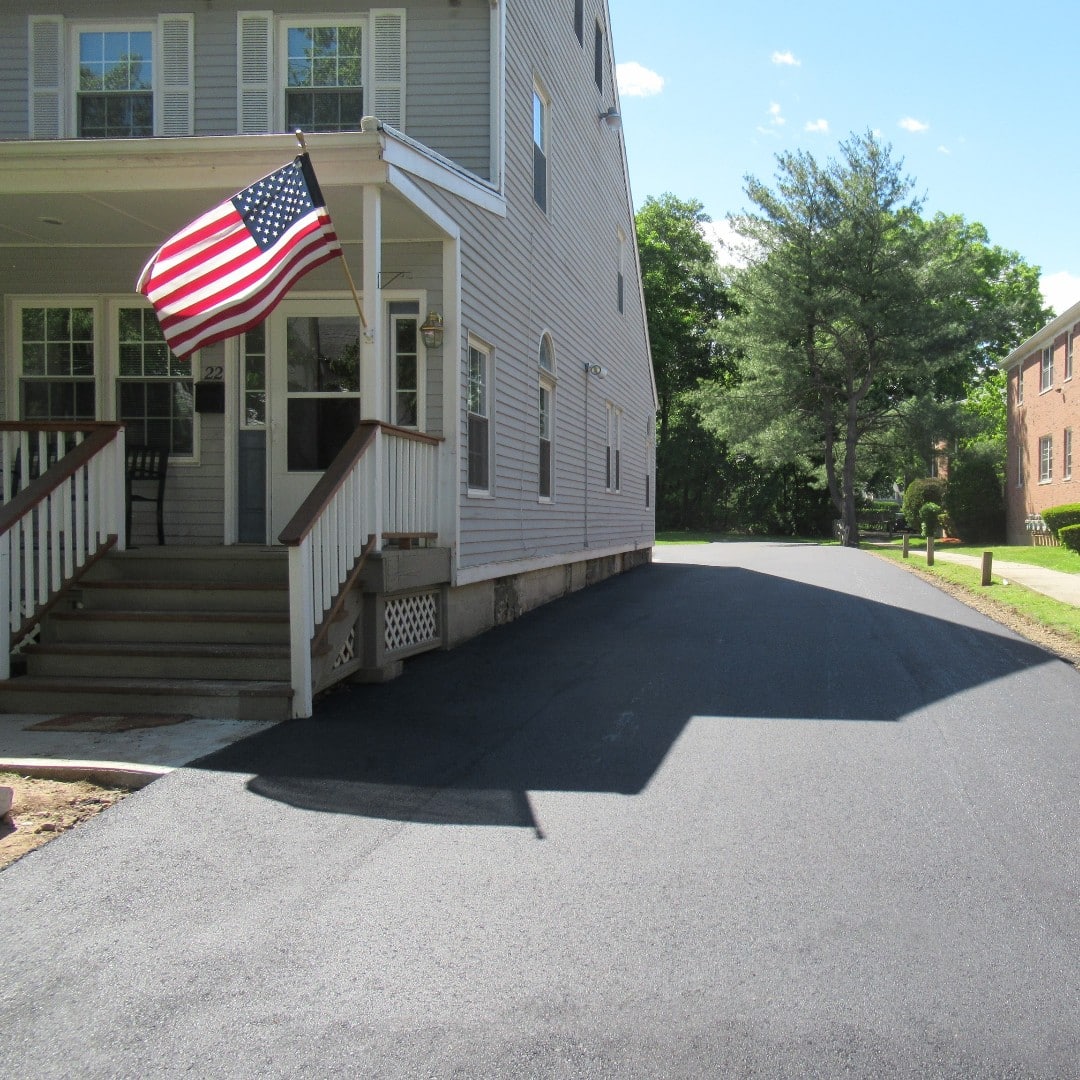
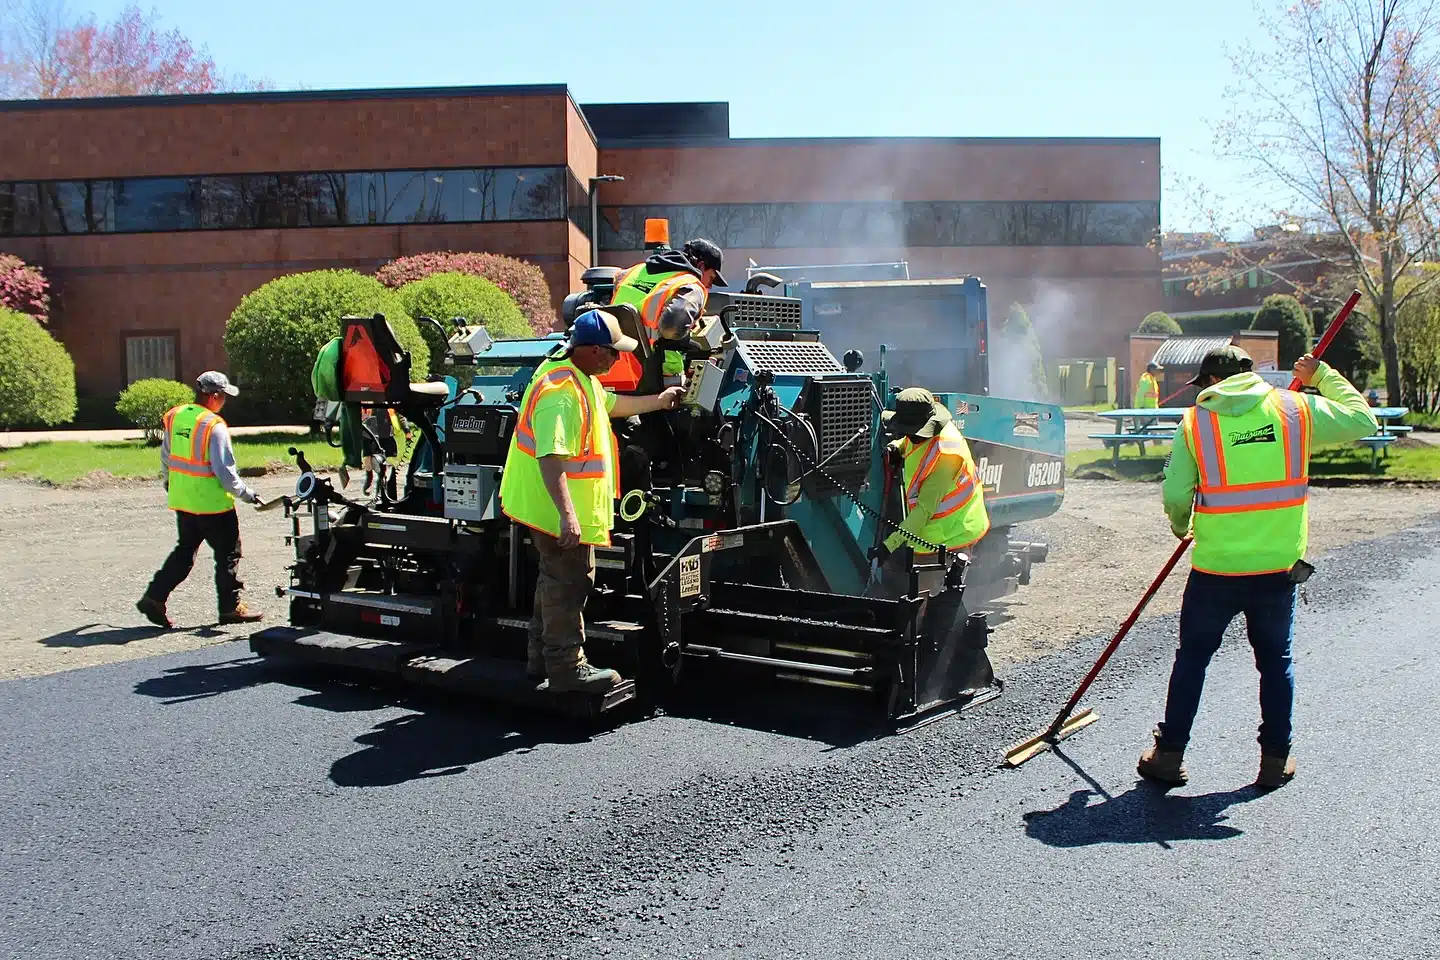
Asphalt Resurfacing (Overlay)
Resurfacing involves installing a new layer of asphalt over the existing driveway. This process restores the appearance and performance of the surface without removing the entire structure.
- Adds a new surface layer (typically 1.5”–2” of hot mix asphalt)
- Improves appearance and smoothness
- Extends the life of your driveway
- More cost-effective than full replacement
Resurfacing works best when the base layer is still stable and the damage is limited to the surface.
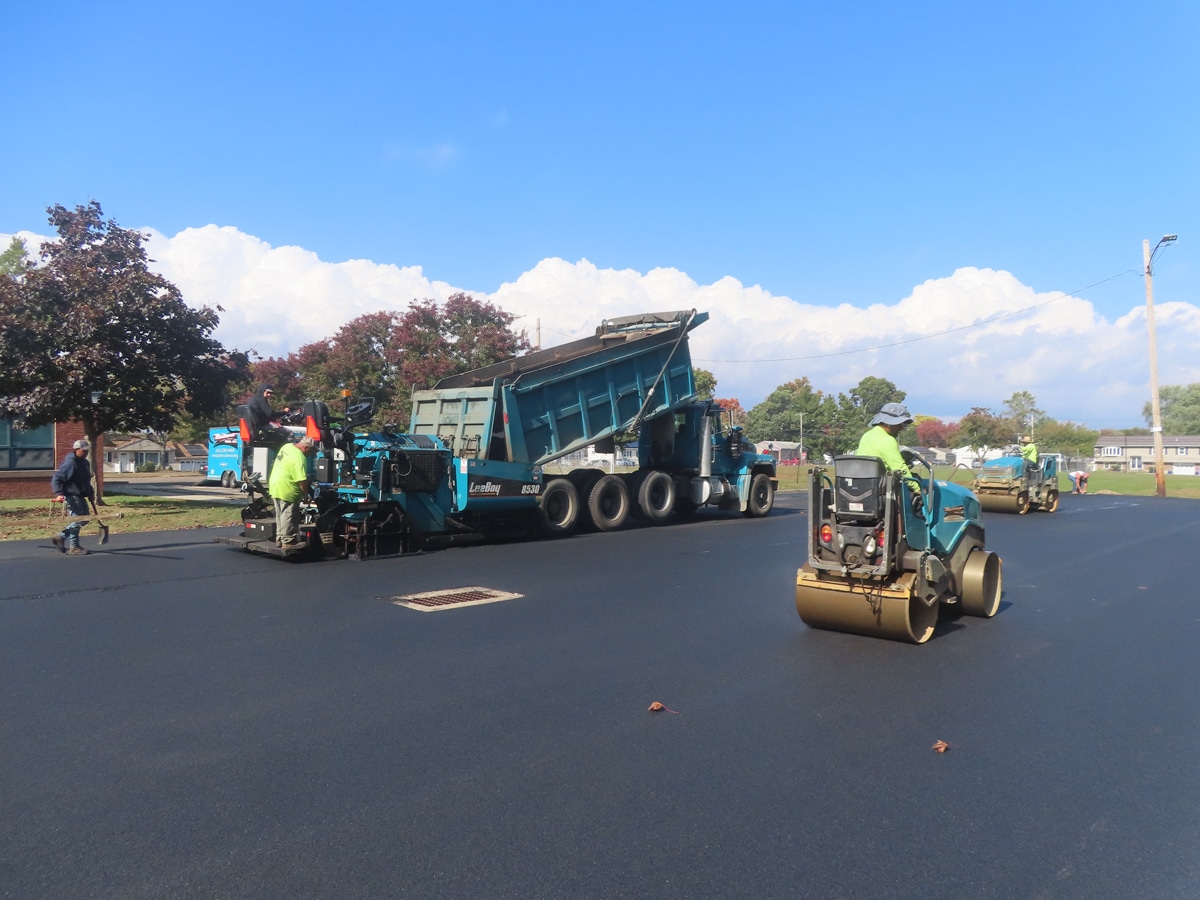
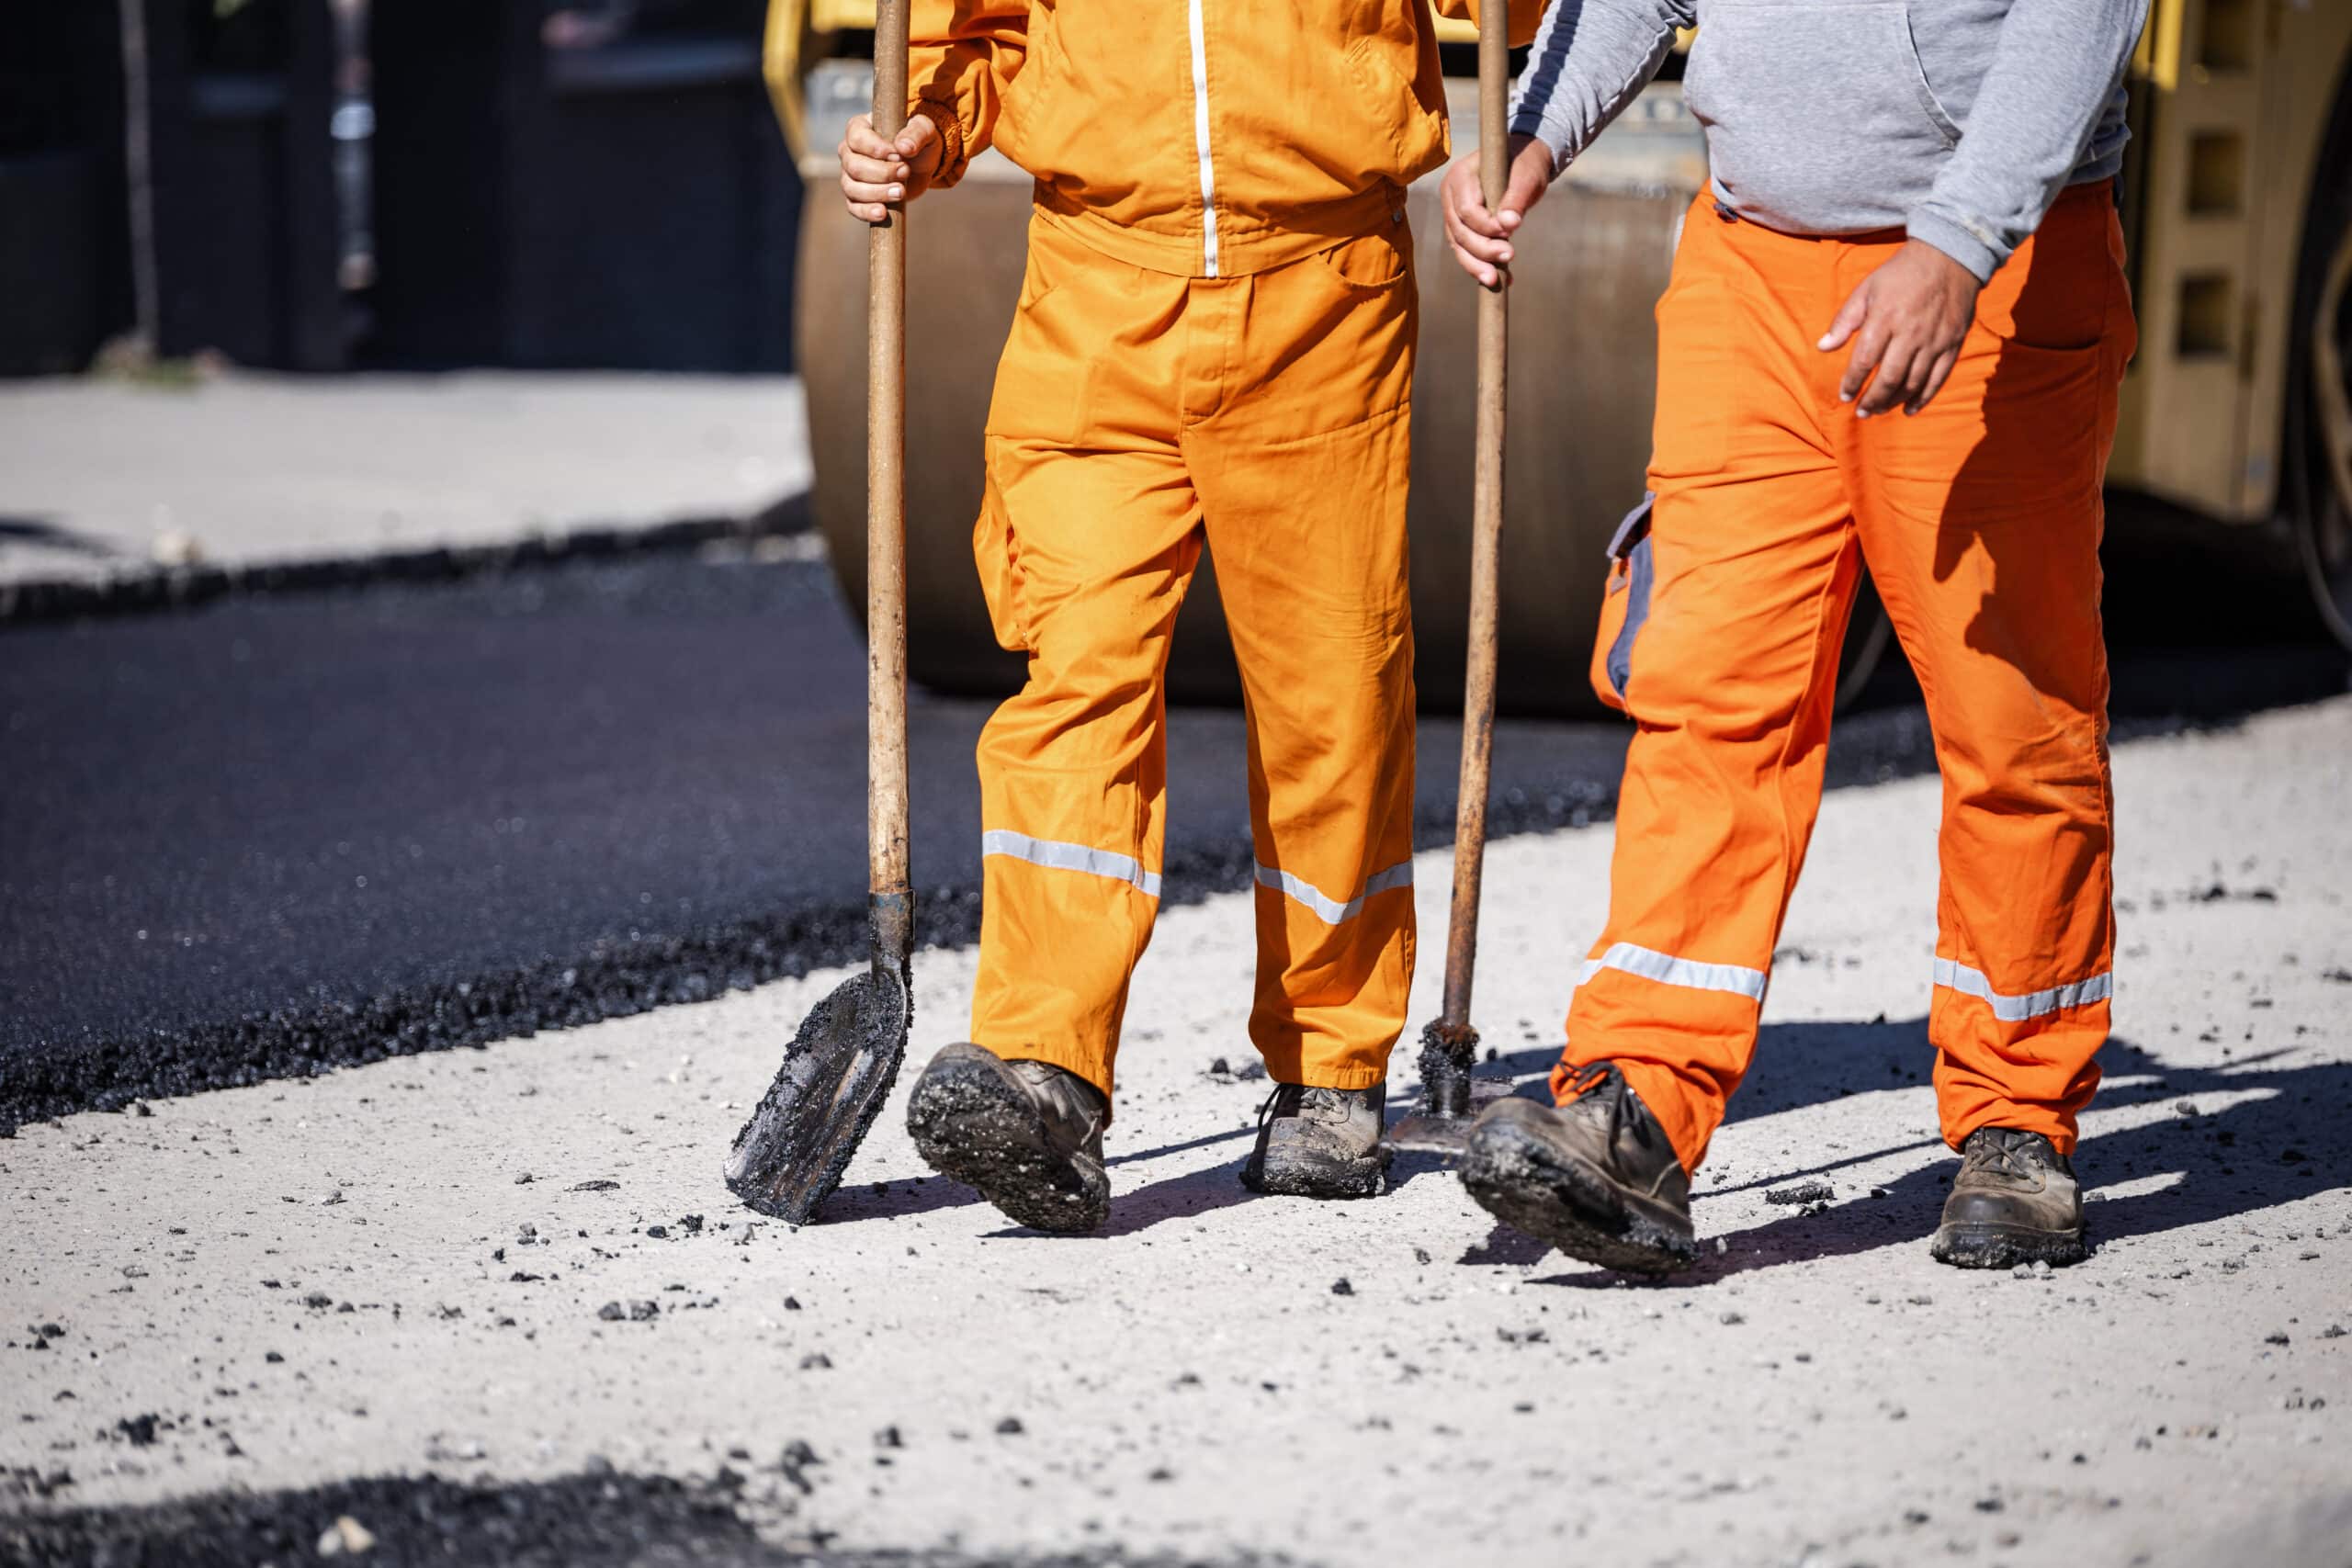
Full Asphalt Replacement
Full replacement involves removing the existing asphalt and rebuilding the driveway from the ground up. This includes addressing the subgrade and base layers.
- Removes all existing asphalt
- Repairs or replaces the base course
- Installs new asphalt from the foundation up
- Provides a completely new, long-lasting driveway
This approach is necessary when there is base failure, widespread cracking, or structural instability.
Signs You Only Need Asphalt Resurfacing
Not every damaged driveway needs to be replaced. In many cases, resurfacing is the right solution.
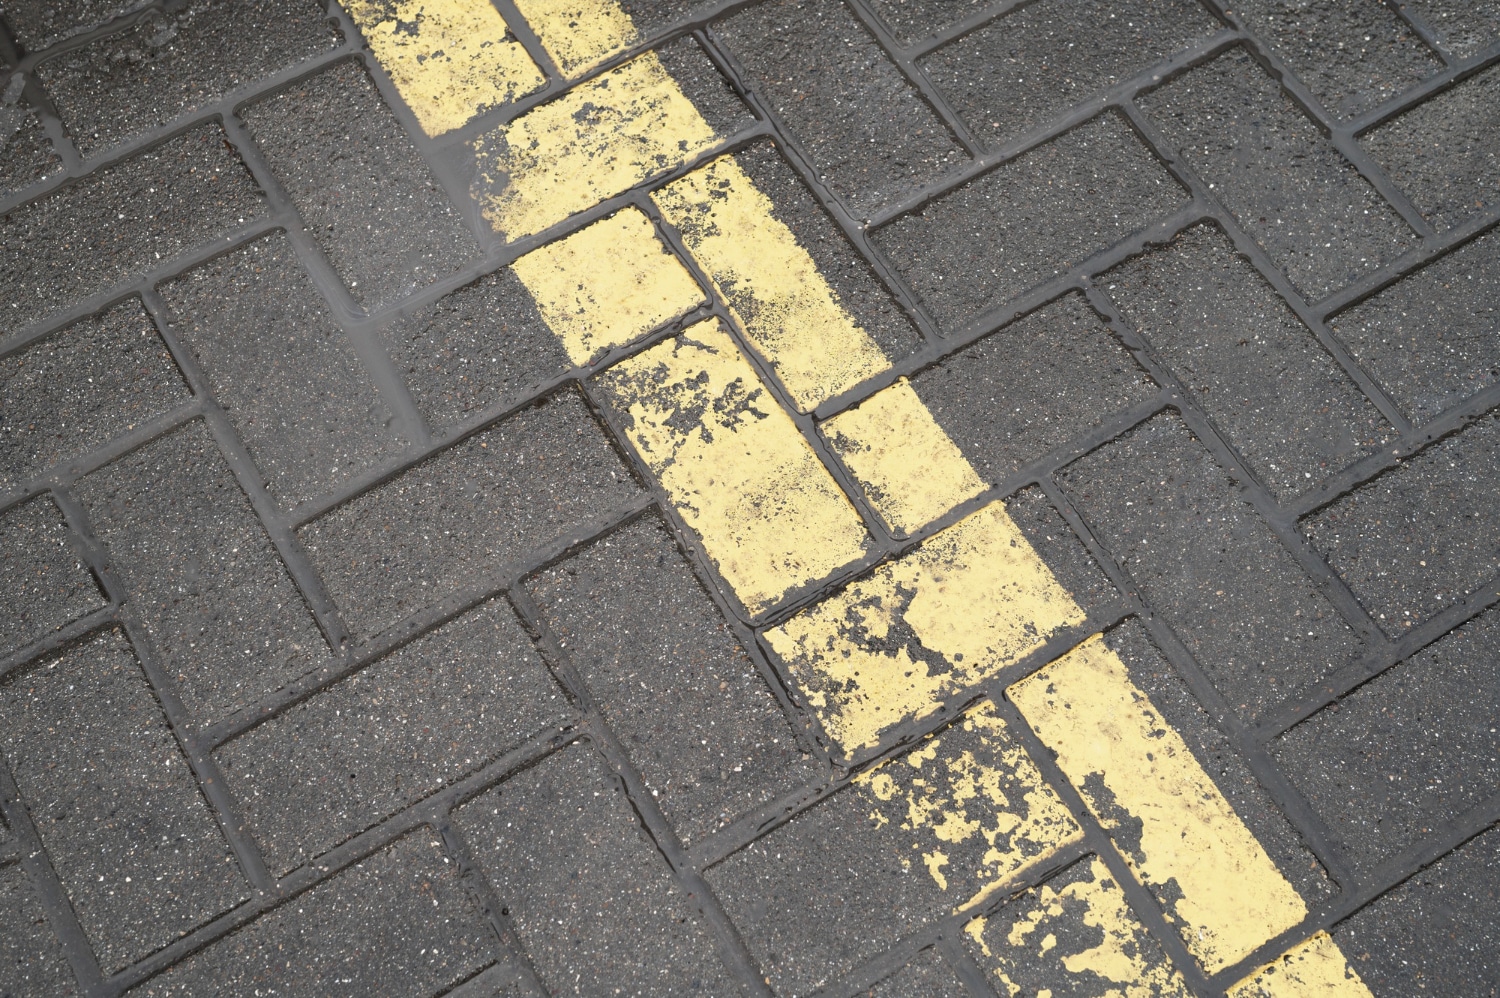
- Surface cracks (not deep or widespread)
- Fading or oxidation
- Minor surface wear
- No major drainage issues
- Driveway feels solid underfoot
If the structure is still intact, resurfacing can restore your driveway at a lower cost while extending its usable life.
Signs You Need Full Asphalt Replacement
Some issues go deeper than the surface—and resurfacing won’t fix them.
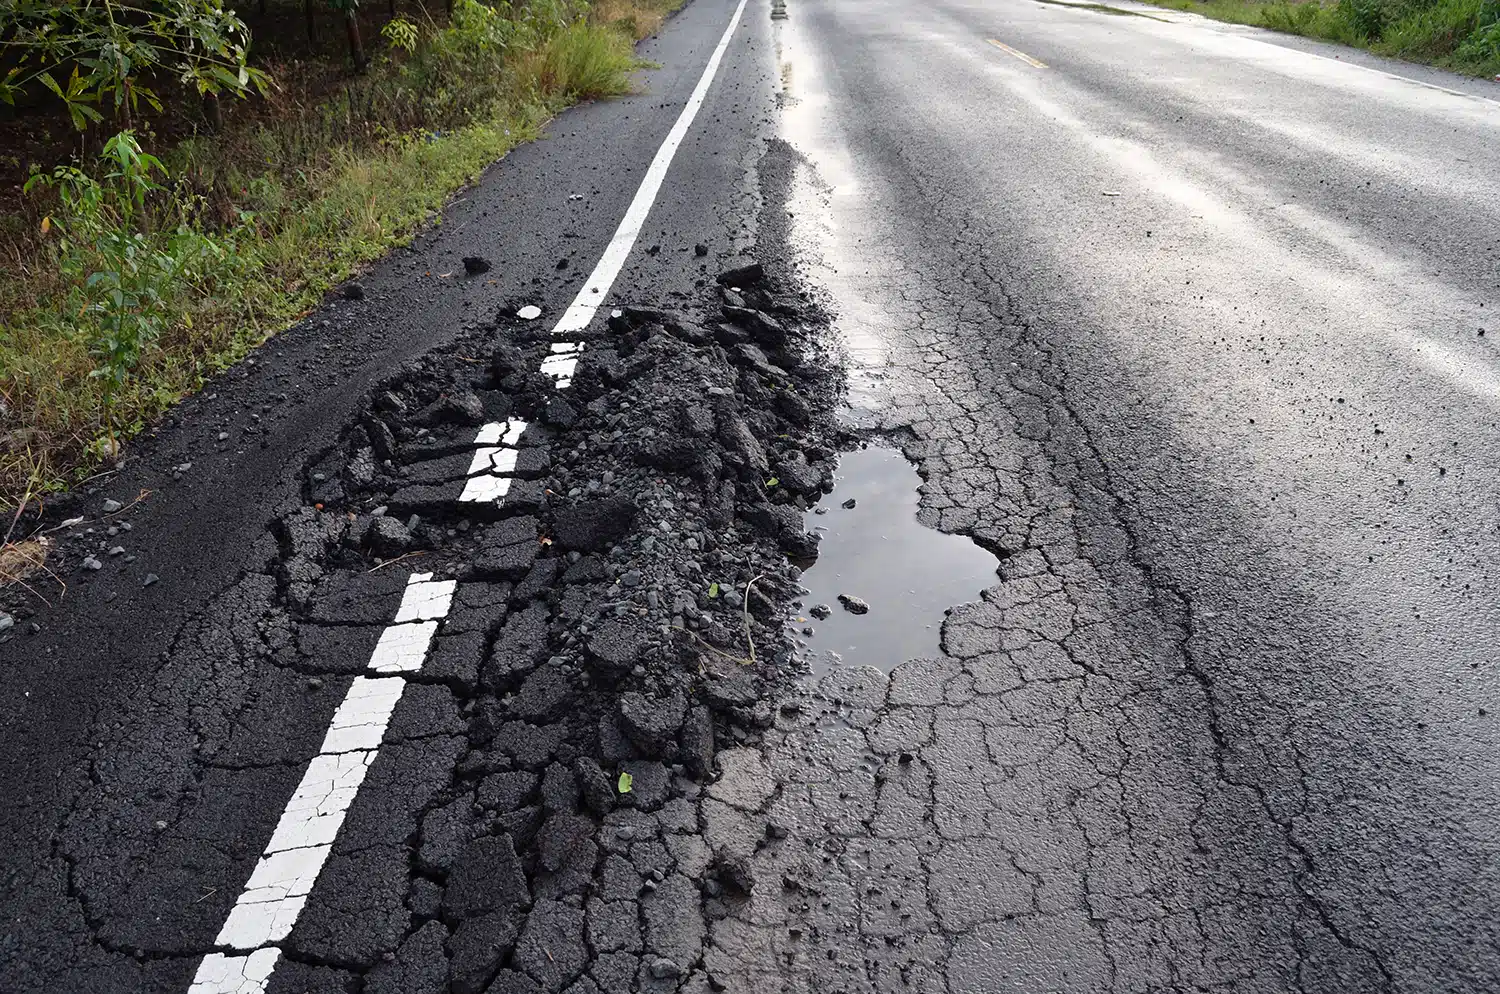
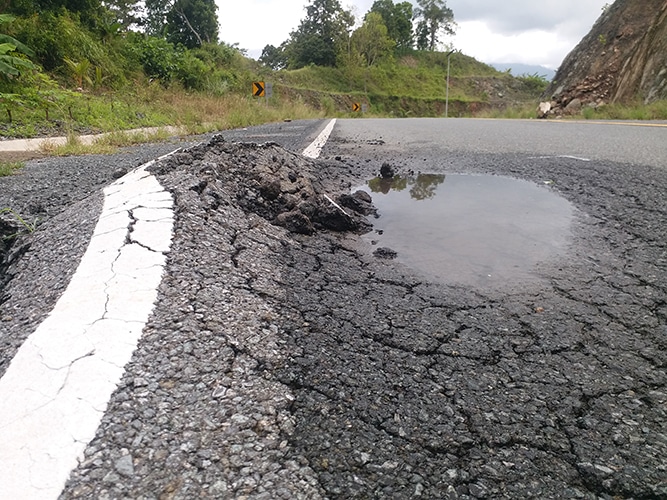
- Multiple or recurring potholes
- Large cracks and alligator cracking
- Soft spots or sinking areas
- Poor drainage or standing water
- Driveway is over 20–25 years old
These are clear indicators of structural failure beneath the asphalt, meaning replacement is the only long-term solution.
Resurfacing vs Replacement Cost Comparison
A proper cost comparison between resurfacing and replacement helps homeowners understand the real investment involved.
While resurfacing has a lower upfront cost, it may not last if underlying issues exist. Replacement costs more initially but provides a longer lifespan and fewer repairs over time.
Choosing the wrong option can lead to repeat repairs, making resurfacing more expensive in the long run if the base is already compromised.
The Role of the Base Layer
Your driveway is only as strong as what’s underneath it.
The base course supports the asphalt surface and distributes weight. If it becomes unstable due to water infiltration or poor compaction, the surface will fail regardless of how many times it is resurfaced.
This is why professional evaluations focus on structural integrity—not just surface appearance.
How Professionals Evaluate Your Driveway
A professional contractor will assess several key factors before recommending resurfacing or replacement:
- Depth and severity of cracks
- Presence of potholes
- Drainage conditions
- Structural stability of the base
- Age of the driveway
If you’re unsure which option is right, it’s best to get a professional opinion before investing in the wrong solution.
Resurfacing vs Replacement: Quick Comparison
| Factor | Resurfacing | Replacement |
|---|---|---|
| Cost | Lower upfront | Higher upfront |
| Durability | 8–15 years | 20+ years |
| Fixes Base Issues | No | Yes |
| Best For | Surface-level damage | Structural failure |
How to Extend the Lifespan of Your Asphalt Driveway
Proper maintenance plays a major role in extending the lifespan of your asphalt driveway.
- Sealcoat every 2–3 years
- Fill cracks early to prevent water intrusion
- Maintain proper drainage
- Avoid repeated heavy loads in the same location
Taking these steps helps protect your investment and delay the need for major repairs or replacement.
Conclusion
Choosing between resurfacing and replacement comes down to one key factor: the condition of your driveway’s foundation.
If the base is stable, resurfacing can be a cost-effective way to restore your driveway. If the base is failing, replacement is the only solution that will provide long-term results.
Making the right decision now can prevent future headaches and unnecessary expenses.
Not sure which route is right for your driveway? Maisano Brothers can inspect your asphalt and recommend the most cost-effective solution. Get your free estimate today, or explore our full range of asphalt paving services for Connecticut homeowners.
Frequently Asked Questions
Yes upfront, but it can cost more long-term if the base is failing.
Typically 8–15 years depending on conditions and maintenance.
When there are structural issues like base failure, widespread cracking, or sinking.
Only if the base is still stable. Otherwise, potholes will return. If you’re dealing with recurring surface damage, learn more about proper pothole repair and patching methods to address the root of the issue.
A pattern of interconnected cracks that indicates structural failure in the pavement.
Signs include soft spots, sinking areas, recurring potholes, and drainage issues.
A properly installed driveway can last 20–30 years with maintenance.